Ever taken a photo indoors and wondered why it looked dark, then raised a setting called ‘ISO’ and suddenly everything brightened up? You’re not alone.
Understanding ISO meaning in photography is one of the biggest turning points for beginners who want sharper, brighter, more professional-looking photos.
ISO sounds technical, but it’s actually simple once someone explains it like a human instead of a manual.
It controls how sensitive your camera is to light.
That means ISO can help you shoot in low light, freeze action, or keep image quality crisp.
Knowing ISO matters more than ever in 2026 because today’s cameras and smartphones give users more manual control than before.
If you know how to use ISO properly, your photos instantly improve.
In this guide, you’ll learn what ISO means, how it affects brightness and grain, when to raise or lower it, beginner mistakes to avoid, and real-world settings for portraits, sports, night shots, and more.
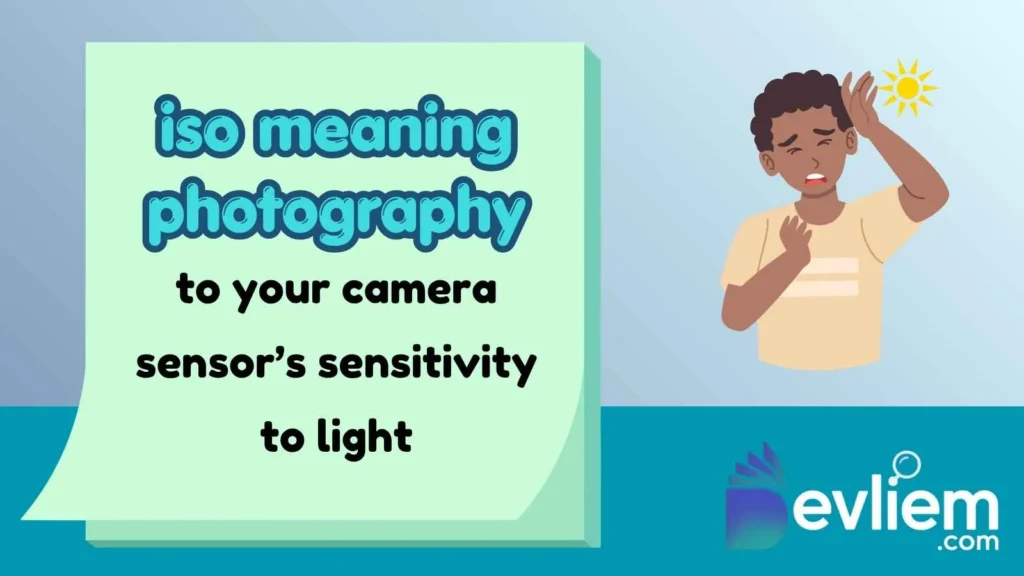
What Does “ISO” Mean in Photography?
ISO in photography refers to your camera sensor’s sensitivity to light. It determines how bright or dark your image appears.
Originally, ISO came from film photography. Different film rolls had ratings like ISO 100 or ISO 400. Higher numbers meant the film was more light-sensitive. Digital cameras kept the same system, even though no film is involved.
Today, ISO is part of the Exposure Triangle, along with aperture and shutter speed.
Quick Answer: ISO meaning photography = a camera setting that controls brightness by adjusting light sensitivity. Lower ISO = cleaner image. Higher ISO = brighter image but more noise.
Pronunciation
‘ISO’ is usually said as ‘eye-so’.
How to Use “ISO” Correctly in Photography
ISO is not “better” when high or low. It depends on your lighting and goal.
Use Low ISO When:
- Shooting outdoors in sunlight
- Using a tripod
- Wanting maximum image quality
- Landscapes and studio photography
Typical settings: ISO 100–200
Use Medium ISO When:
- Cloudy weather
- Indoor natural light
- Casual portraits
Typical settings: ISO 400–800
Use High ISO When:
- Night photography
- Concerts
- Indoor sports
- Fast-moving subjects in dim light
Typical settings: ISO 1600–6400+
When NOT to Use High ISO
Avoid pushing ISO too high unless necessary. Many cameras add visible grain, colour speckles, and softness at extreme levels.
Formatting Tip
Use Auto ISO if you’re learning. It lets the camera adjust sensitivity while you control shutter speed and aperture.
Real Photography Examples Using ISO
Between Friends: Sunny Park Portrait
- Aperture: f/2.8
- Shutter: 1/500
- ISO: 100
This keeps the image clean and sharp with beautiful blur.
Emotionally: Crisp, polished, professional-looking.
Family Dinner Indoors
- Aperture: f/2
- Shutter: 1/125
- ISO: 800
Bright enough without flash.
Emotionally: a warm, natural, cosy vibe.
Work Event Conference Room
- Aperture: f/4
- Shutter: 1/160
- ISO: 1600
Useful in average indoor lighting.
Emotionally: Clean enough while capturing the moment.
Gaming Stream Setup
- Webcam/manual camera
- ISO: 400–1200 depending on LED lights
Emotionally: Balanced brightness without looking grainy.
Night Street Photography
- Aperture: f/1.8
- Shutter: 1/125
- ISO: 3200
Needed when handheld at night.
Emotionally: Moody, cinematic, alive.
Common Mistakes & Misunderstandings
1. Thinking Higher ISO Is Always Better
Higher ISO brightens images, yes—but often lowers quality.
2. Leaving ISO Too High in Daylight
Many beginners shoot outdoors at ISO 3200 accidentally. Result? Grainy photos for no reason.
3. Confusing ISO With Exposure Alone
ISO is only one part of exposure. Aperture and shutter speed matter too.
Generational Confusion
Older photographers from film days may discuss ISO differently because film grain behaved differently than digital noise.
How to Clarify
If someone asks, say the following:
“ISO controls brightness and image noise.”
Simple and accurate.
“ISO” Across Different Platforms & Demographics
DSLR and Mirrorless Cameras
Advanced cameras handle high ISO better thanks to larger sensors and improved processors.
Smartphones
Phones often simulate ISO digitally. Results vary heavily depending on software.
Beginner Cameras
Entry-level cameras may show more noise above ISO 1600.
Pro Cameras
Full-frame cameras often stay cleaner at ISO 3200, 6400, or higher.
Trending in 2026
Low-light content creation for YouTube, TikTok, and Instagram Reels has made ISO knowledge more valuable than ever.
Related Slang, Abbreviations & Alternatives
(Photography terms, not internet slang this time.)
| Term | Meaning |
|---|---|
| Aperture | Lens opening controlling light |
| Shutter Speed | How long does the sensor sees light |
| Exposure | Overall brightness |
| Noise | Grainy texture from high ISO |
| EV | Exposure value |
| RAW | Unprocessed image format |
| White Balance | Color temperature control |
| Dynamic Range | Highlight/shadow detail |
| Auto ISO | The camera adjusts ISO automatically |
| Full Frame | Larger-sensor camera |
FAQs:
What is the best ISO for beginners?
Start at ISO 100 in daylight. Increase gradually indoors or at night only when needed.
Is lower ISO always better?
Lower ISO gives cleaner images, but not always better exposure. Dark photos with low ISO are worse than properly exposed photos at moderate ISO.
Why are my photos grainy?
Your ISO may be too high, or your camera sensor may struggle in low light.
What ISO should I use at night?
Try ISO 800–3200 depending on lens brightness and whether you use a tripod.
Does ISO affect sharpness?
Indirectly, yes. High ISO noise can reduce perceived detail and clarity.
Conclusion:
Understanding ISO meaning in photography gives you instant control over brightness, quality, and confidence behind the camera.
Keep ISO low when light is strong. Raise it when light drops. That’s the practical rule most beginners need.
Master ISO, combine it with aperture and shutter speed, and your photos will level up fast.
What ISO setting do you use most often? Drop your favourite photography tip in the comments below.

Hi, I’m Emily Taylor, the voice behind Devliem.com, where meanings aren’t just explained, they’re made easy to understand.
I’ve always been fascinated by words, the way they change, evolve, and sometimes confuse us more than they should. That curiosity turned into a mission: to break down complex meanings, trending slang, and everyday expressions into something clear, simple, and actually useful.